Transforming sloped plots into stable and appealing tent sites takes planning and care. Whether you’re hosting guests, building retreat space, or crafting a personal glamping setup, here’s a deeper guide to choosing and building the right base. My paid consulting services are available if you’d like tailored site assessment and build planning.
⛰️ Why a Strong Base Matters
A tent is only as good as what it stands on. A solid base ensures:
- Stability and level setup
- Comfort with firm footing
- Proper drainage and longevity in varying weather
- Ease of arranging furniture or furnishings on-site
No matter the slope, a thoughtful foundation makes all the difference.
🔍 2. Reading Your Land
- Walk your site during and after rainfall to observe water flow
- Note sun patterns and wind direction
- Decide whether to sculpt the slope or preserve its natural shape
This early assessment informs practical and visually harmonious choices.
🛠️ 3. Base Options for Sloped Terrain
A. Terraced Ground (Cut & Fill)
Carve and fill a flat pad into the slope.
Integrates beautifully into the landscape.
Requires excavation, leveling tools, and drainage planning.

B. Elevated Wooden Platform
Built on posts of varying heights, following the slope.
Great airflow underneath and keeps canvas dry.
Adds visual polish and handles uneven or rocky terrain well.
C. Retaining Wall + Filled Platform
Construct a short retaining wall on the lower side and build up behind it.
Less cutting, solid structure, and relatively easy build on moderate slopes.

🧱 4. Choosing the Right Materials
A. For Wooden Platforms
- Use treated pine or Douglas fir boards (2.5–4 cm thick, 12–15 cm wide)
- Structural posts: 9×9 cm for low platforms, 12×12 cm or stronger for higher/deep slopes
- Joists spaced every 40–60 cm
- Hardware: galvanized bolts and brackets
Suggestion: Add a 1–2% slope on the deck for water runoff.
B. For Ground-Level Bases
- Layered setup: excavate → landscape fabric → 10–15 cm compacted gravel → optional fine top layer
- Avoid mud and dampness with proper drainage
C. Drainage & Moisture Control
- Add shallow trenches or French drains around the pad
- Tilt ground naturally away from the tent
- Always test drainage by walking the site after rain
D. Post Foundations
- Concrete piers for permanent stability
- Screw-in anchors for reusable setups
- Gravel-filled holes for budgets (with regular checks)
🔍 5. Real-World Lessons & Tips
- In Peru, clay-contaminated base turned into mud after rain—don’t skip drainage
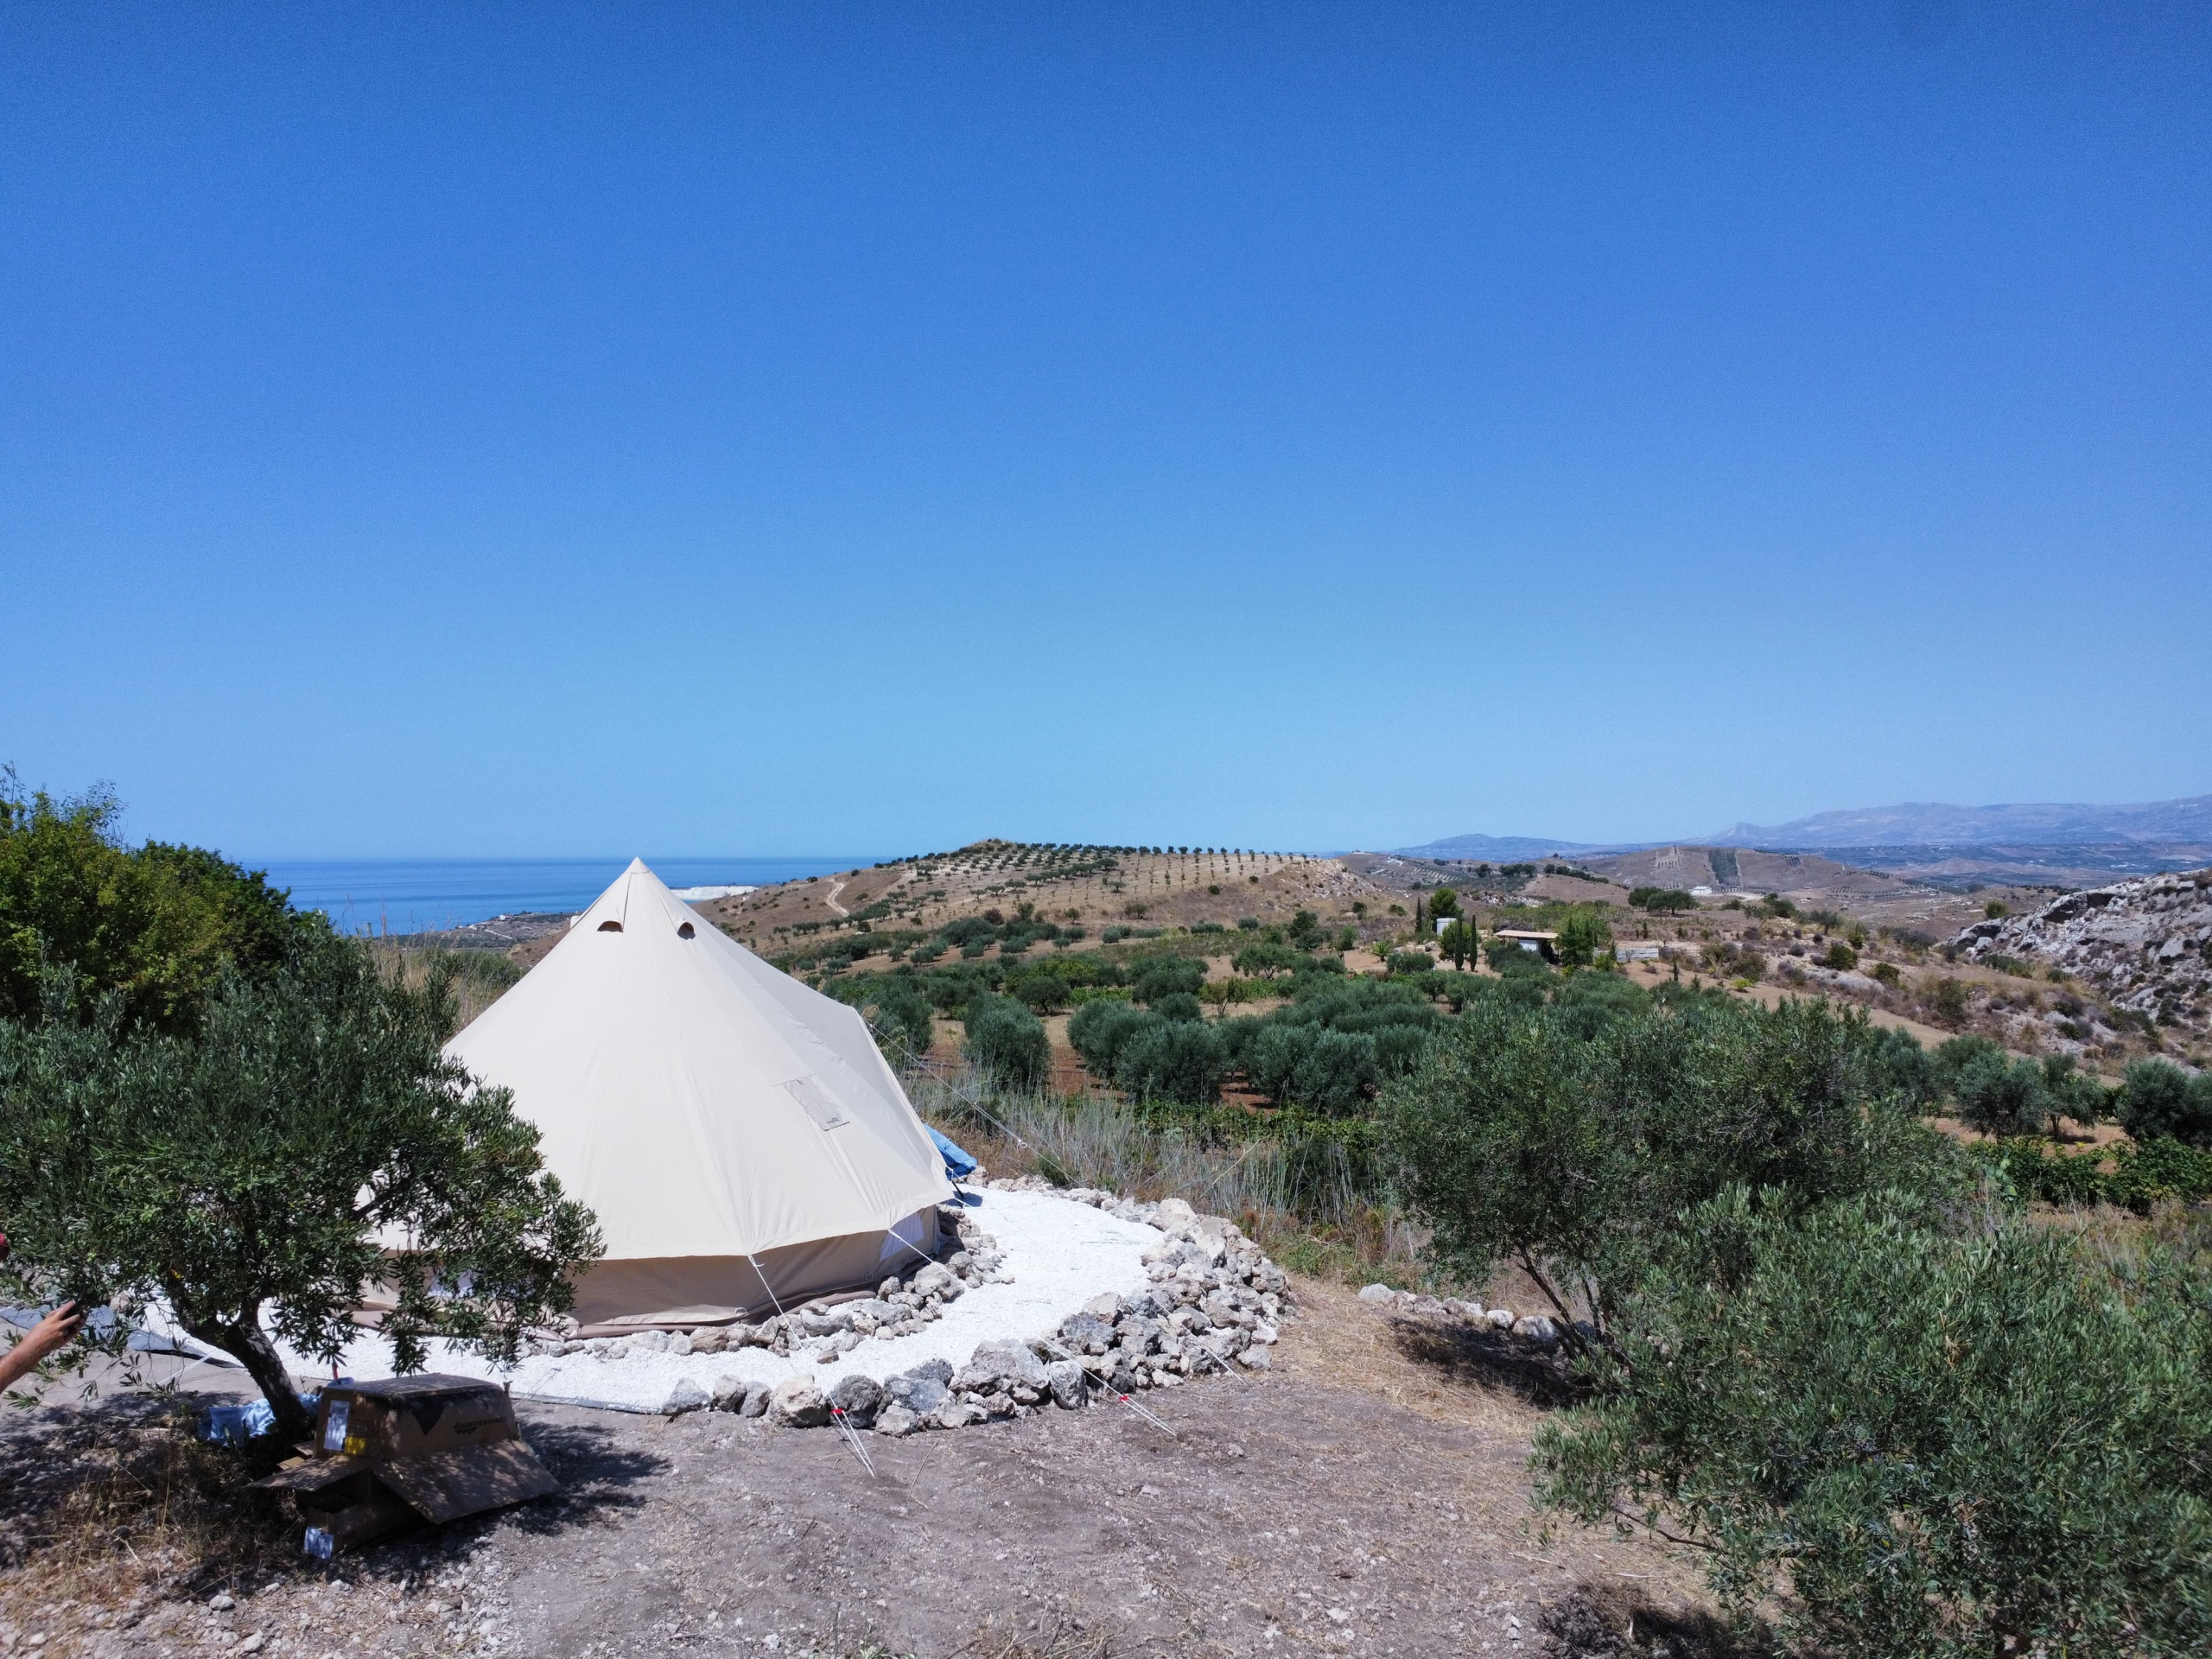
- In Sicily, elevated decks brought breeze into the tent and kept the canvas clean and dry
- Over-engineering pays off with heavier weather or frequent guest use
💼 6. How I Can Help
If you’d like support planning your base, my paid consulting service includes:
- Site assessment (video or in-person)
- Advice on base option (terrace, platform, or retaining wall)
- Material and build planning tailored to your slope
For help choosing your tent model (Apex, ProTech, or Traveler), I offer a free 15-minute call. These services are separate, each tailored to your project timeline and needs.
🌟 Related Guides & Next Steps
- Already read: How to Choose the Perfect Bell Tent for Glamping Setup in Sicily
- Explore our full tent collection
- Book a consulting session or free tent advice call